
Maintaining a dump trailer’s hydraulic system is vital for its optimal performance and longevity.
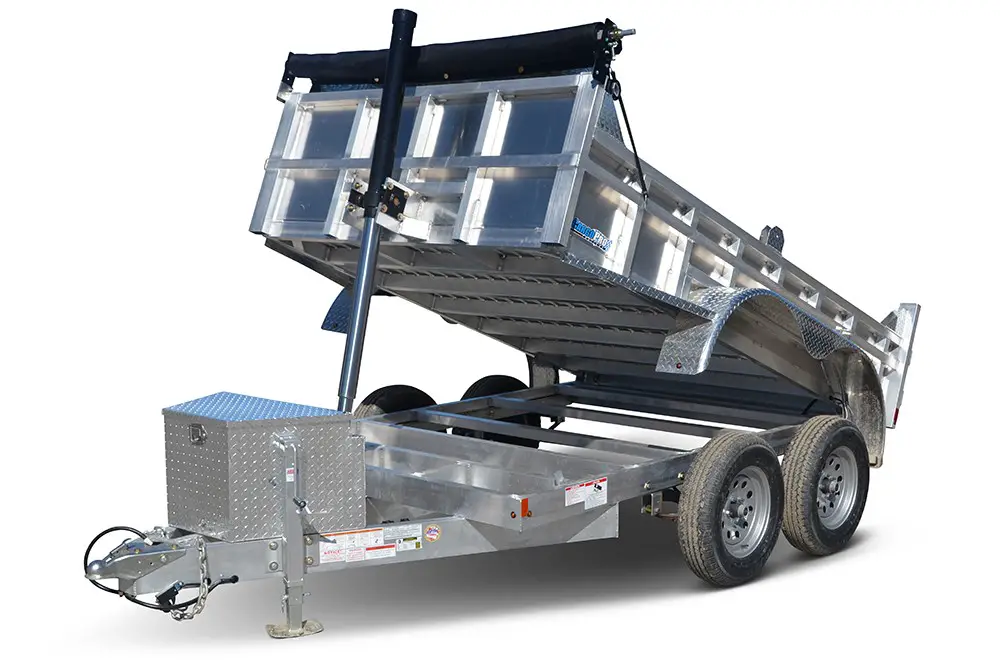
The hydraulic system plays a key role in effortlessly lifting and lowering the trailer bed, allowing you to efficiently transport and unload heavy loads.
However, like any mechanical system, the hydraulic system requires regular maintenance, including the timely change of hydraulic fluid.
By changing the hydraulic fluid at recommended intervals, you can ensure smooth operation, prevent costly breakdowns, and extend the lifespan of your trailer.
How to Change Hydraulic Fluid on a Dump Trailer
Whether you’re a seasoned trailer owner or a first-time DIY enthusiast, this guide will provide you with the necessary information and valuable tips to complete the fluid change and keep your trailer operating at its best.
Phase 1: Safety precautions
Prioritize your safety before starting the fluid change process.
Wear protective gear such as gloves and safety goggles to shield yourself from potential spills or splashes.
Also, ensure that the dump trailer is stable and parked on a level surface to prevent accidents during the fluid change.
Engage the parking brake and use wheel chocks if necessary to further secure the trailer.
Turn off the hydraulic pump and operate the controls to relieve the pressure. This step will minimize the risk of hydraulic fluid spraying or components unexpectedly moving.
Related: Dump Trailer Hydraulic Fluid: Everything You Wanted to Know
Phase 2: Gather the necessary tools and materials
Having everything prepared in advance will streamline the process and ensure a smooth fluid change operation.
Here are the essential tools and materials you’ll need.
Drain pan
Obtain a suitable drain pan or container to collect the old hydraulic fluid as it drains from the reservoir.
The drain pan should be large enough to hold the entire volume of fluid without overflowing.
It’s a good idea to use a pan with a lid or a sealable container to prevent spills and leakage during transport for proper disposal.
Wrenches and pliers
Depending on the specific components of your dump trailer’s hydraulic system, you may require wrenches and pliers of various sizes.
These tools will assist you in accessing the drain plug, removing filters, and potentially loosening or tightening other connections.
I recommended having an adjustable wrench, a combination wrench set, and a set of pliers on hand to accommodate different sizes and types of fittings.
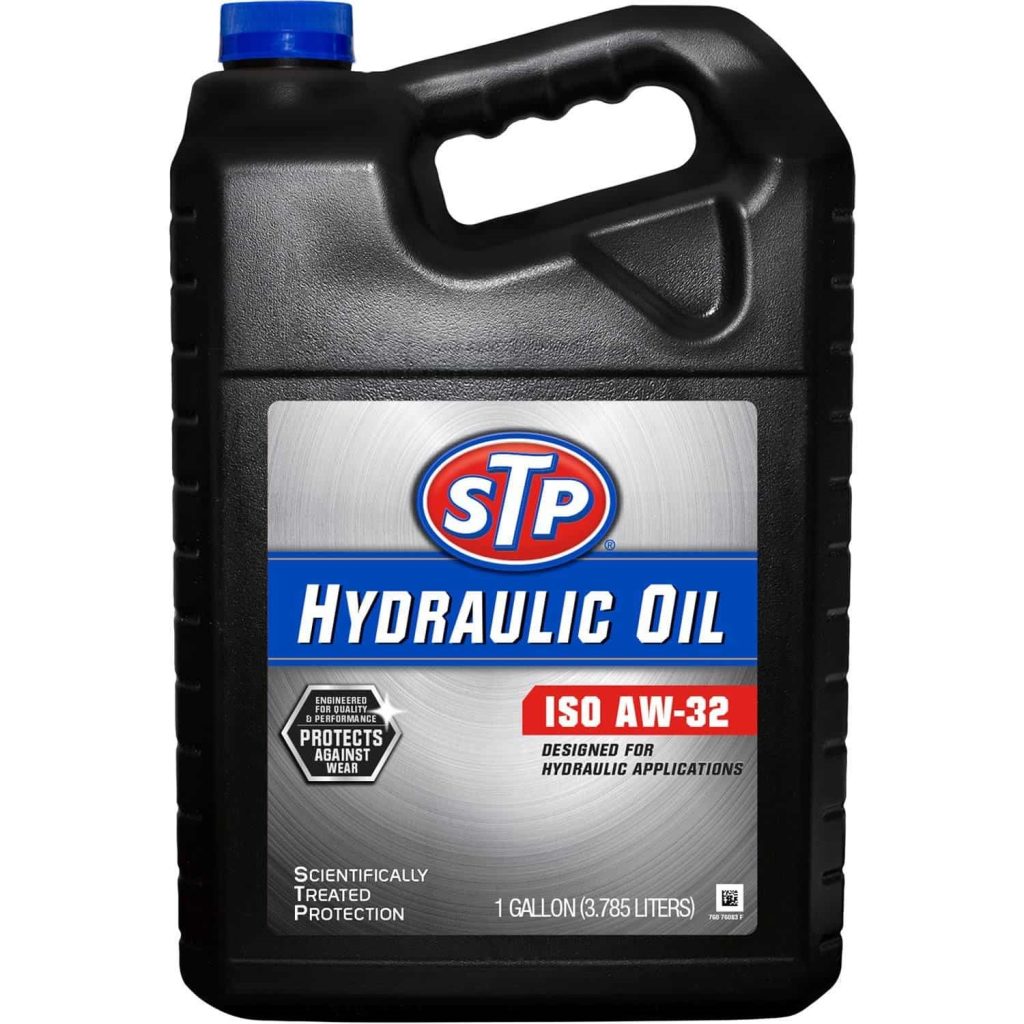
Hydraulic fluid
Choose the appropriate hydraulic fluid that’s compatible with your dump trailer’s specifications.
The type and grade of hydraulic fluid required may vary depending on factors such as operating temperatures, system design, and manufacturer recommendations.
Consult your trailer’s manual or contact the manufacturer to determine the correct fluid to use.
Use a high-quality fluid that meets the necessary industry standards to ensure optimal performance and longevity of your hydraulic system.
Clean rags or shop towels
Having clean rags or shop towels readily available is essential for maintaining a clean and organized work environment during the fluid change process.
These can be used to wipe up any spills or drips, clean the reservoir, and wipe down components to ensure that they’re free from debris before reassembly.
Using lint-free rags or towels will help minimize the risk of introducing contaminants into the hydraulic system.
Related: How to Easily Build a DIY Discharge Chute Blocker
Phase 3: Step-by-Step Guide to Changing Hydraulic Fluid
Step 1: Locate the hydraulic reservoir
The reservoir is typically positioned near the hydraulic pump and is easily identifiable by its size and shape.
It may be a rectangular or cylindrical container made of metal or plastic.
If you’re unsure about the exact location, consult your trailer’s manual, which will provide specific details and diagrams to help you find the reservoir.

Step 2: Drain the old hydraulic fluid
Depressurize the hydraulic system before draining the old hydraulic fluid.
This step is essential for your safety and prevents any accidental release of pressurized fluid.
Locate the drain plug or valve on the reservoir. It’s usually located at the bottom or side of the reservoir.
Place a drain pan or container underneath the drain plug to catch the old fluid.
With the drain pan in place, use an appropriate wrench or tool to loosen the drain plug or open the valve carefully. Take caution not to damage the plug or valve during this process.
As you loosen the plug, the old fluid will begin to flow out of the reservoir and into the drain pan. Allow the fluid to drain completely.
It may take some time, depending on the size of your reservoir.
Related: Steiner Hydraulic Fluid Equivalent
Step 3: Inspect and replace hydraulic filters
Hydraulic filters are an integral part of the system as they prevent contaminants from entering and circulating within the hydraulic fluid.
As part of the fluid change process, it’s important to inspect the hydraulic filters for any signs of damage or clogging.
Carefully remove the filters from their designated locations, following the manufacturer’s instructions.
Inspect each filter visually for any signs of wear, damage, or debris accumulation.
Replace the filters with new ones if you notice any issues, such as torn filter media or excessive clogging.
When replacing the filters, ensure that they’re compatible with your dump trailer’s hydraulic system and follow the manufacturer’s guidelines for proper installation.
High-quality filters will help maintain the cleanliness of the hydraulic fluid and enhance the overall performance of the system.
Step 4: Add new hydraulic fluid
Now that you’ve drained the old hydraulic fluid and inspected/replaced the filters, it’s time to add fresh hydraulic fluid to your dump trailer.
As stated earlier, choosing the appropriate type and grade of hydraulic fluid is crucial for optimal performance.
Refer to your trailer’s manual or consult with a hydraulic fluid specialist to determine the recommended type of fluid.
Using a funnel or other suitable method, pour the new hydraulic fluid into the reservoir. Take care to avoid spillage or contamination.
Fill the reservoir slowly, periodically checking the fluid level to ensure it reaches the recommended level specified in the trailer’s manual.
Once the reservoir is filled, remove any trapped air from the hydraulic system to ensure proper operation.
This process is known as bleeding. Follow the manufacturer’s instructions to bleed the hydraulic system effectively.
It typically involves activating the hydraulic pump and cycling the system to purge any air bubbles.
Related
- How to Make a Homemade Lawn Mower Discharge Chute
- How to Easily Build a DIY Discharge Chute Blocker
- Best Mower for 7 Acres
- Best Pressure Washers Under $600
- How Does a Pressure Washer Unloader Valve Work? (Answered)
- Top 3 Types of Lawn Mower Engines
- Ryobi Vs Craftsman Pressure Washer
- Ariens Vs Husqvarna Zero Turn Mowers
- Sutech Stealth 33 Review: Don’t Buy Until You Read This
- Best Commercial Lawn Mower Brands
- Qwikchute vs. Grass Flap: Which One is Better?

