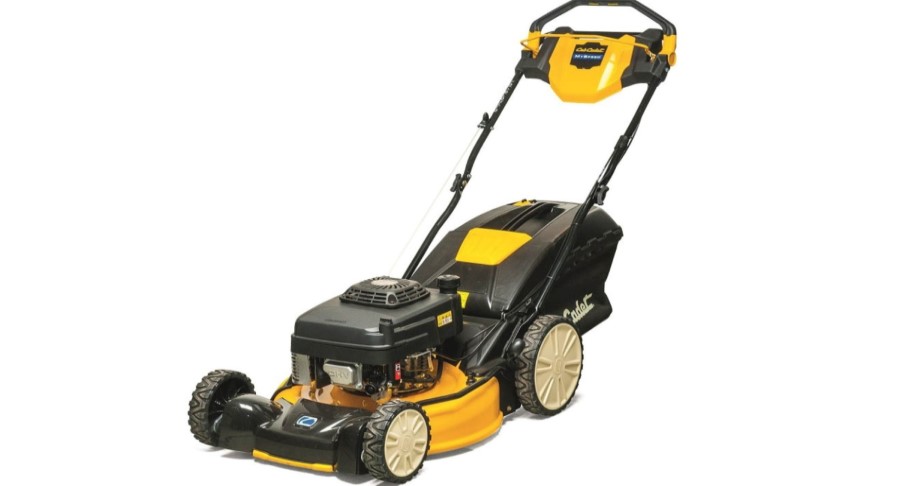
Maintaining a beautiful and well-manicured lawn is a point of pride for many homeowners.
As the blades of grass dance beneath the whir of the mower, the satisfaction of creating a neatly trimmed landscape is hard to beat.
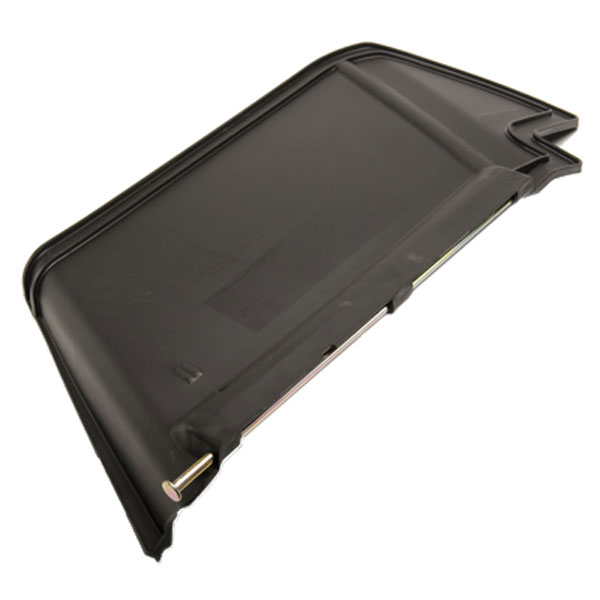
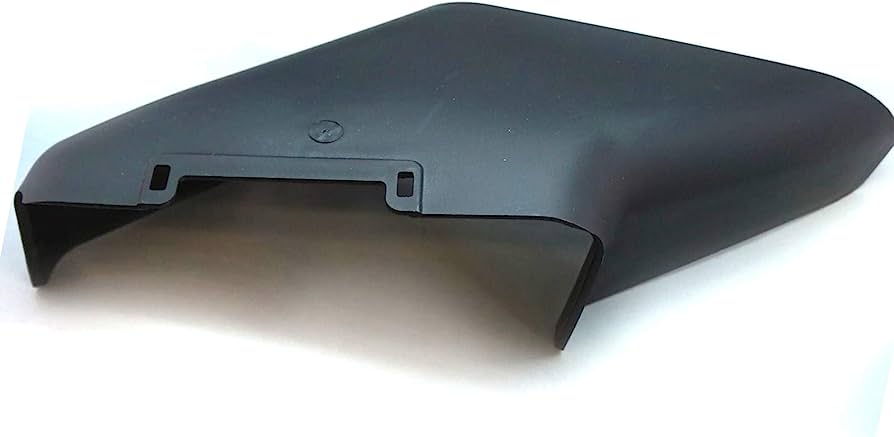
However, to truly elevate your mowing game and ensure a flawless finish, one essential tool often overlooked is the lawn mower discharge chute.
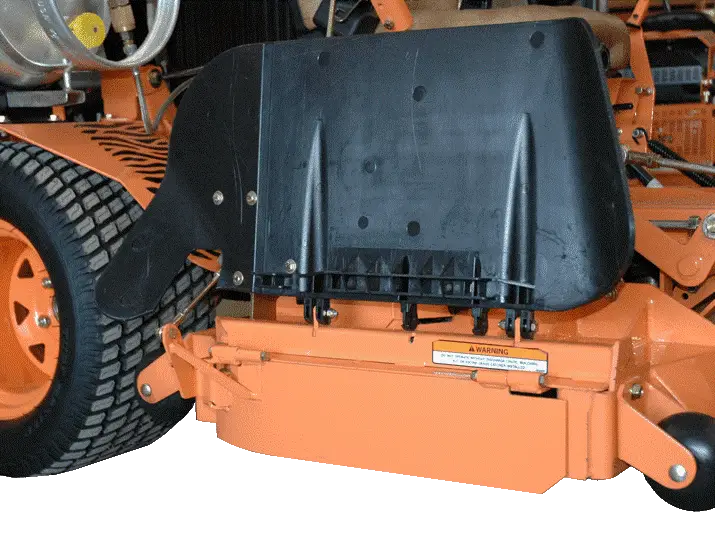
The discharge chute plays an important role in guiding the grass clippings away from the cutting deck and distributing them evenly across the lawn.
It prevents unsightly clumps, reduces the need for raking, and promotes healthier and more vibrant turf.
While there are numerous options available on the market, crafting your very own homemade discharge chute offers a sense of satisfaction, customization, and creativity that can’t be replicated with store-bought solutions.
DIY Lawn Mower Discharge Chute Building Guide
Let’s build a discharge chute that will leave your lawn looking impeccable and make your neighbors green with envy.
Phase 1: Assessing Your Lawn Mower and Safety Considerations
Before diving into the construction process, assess your lawn mower’s compatibility with a homemade discharge chute.
Look for compatible models with appropriate attachment points or areas where modifications can be made.
Safety should also be a top priority. Always wear protective gear, such as safety glasses and gloves, when working on your mower.
Ensure you have a well-ventilated workspace to minimize any potential risks.
Related: 3 Exmark Lazer Z Hydro Pump Problems
Phase 2: Selecting Materials and Tools
Selecting the right materials and tools is crucial to ensure that your discharge chute is durable, functional, and able to withstand the demands of mowing your lawn.
Let’s take a look at different material options and the tools required for constructing a high-quality chute.
Materials
When selecting materials, consider factors such as the size of your mower, the intensity of your mowing tasks, and the climate in your area.
Ensure that the chosen material is sturdy enough to withstand the force of grass clippings and the occasional impact with obstacles in your lawn.
- Sturdy Plastic
Plastic is a popular choice due to its affordability, lightweight nature, and resistance to rust and corrosion.
High-density polyethylene (HDPE) or acrylonitrile butadiene styrene (ABS) are commonly used plastic materials.
These materials are durable and capable of withstanding the impact of grass clippings being discharged.
- Metal
If you prefer a more robust and long-lasting discharge chute, metal materials like aluminum or stainless steel can be excellent options.
Metal chutes offer superior durability and can handle heavy-duty mowing conditions.
However, they may require additional tools and expertise for cutting and shaping.
- PVC
Polyvinyl chloride (PVC) is another viable material choice. It’s lightweight, affordable, and readily available at hardware stores.
PVC pipes or sheets can be easily cut, shaped, and assembled, making them suitable for DIY projects.
Tools
Here’s a list of tools you may require.
Having all the necessary tools readily available before starting the project will help you work efficiently and avoid interruptions during the construction process.
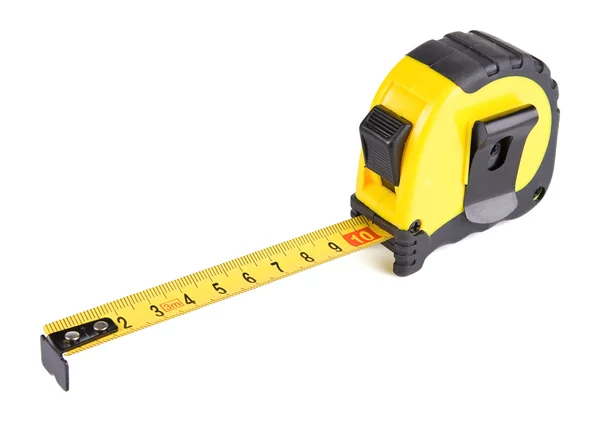
- Measuring Tape
Accurate measurements are essential for designing and cutting the materials precisely.
- Saw
A saw, such as a hacksaw or circular saw, is necessary for cutting the material to the desired dimensions.
Choose a saw appropriate for the type of material you’re working with.
- Drill
A drill with drill bits is essential for creating holes and fastening components together. Make sure you have bits suitable for the materials you’re using.
- Screws, Nuts, and Bolts
These fasteners are crucial for securely attaching the different parts of the chute. Choose corrosion-resistant options for longevity.
- Heat Gun or Welding Machine
If you’re working with materials like PVC or metal, a heat gun or welding machine may be required to shape and join the components.
These tools require proper safety precautions and expertise, so only use them if you’re comfortable and experienced in their operation.
- Clamps or Vice Grips
These tools can help hold pieces in place while drilling or fastening them together.
- Safety Gear
Prioritize safety by wearing protective equipment such as safety glasses, gloves, and a dust mask when using power tools or working with materials.
Related: Best Steiner Hydraulic Fluid Equivalent
Phase 3: Step-by-Step Guide to Building a Homemade Lawn Mower Discharge Chute
Step 1: Prepare the Workspace
Create a clean and organized workspace before you begin constructing your discharge chute.
Clear any debris, twigs, or stones from the area around your mower.
Remove obstacles that could impede your movement or pose safety risks during the construction process. This preparation will ensure a safe and efficient work environment.
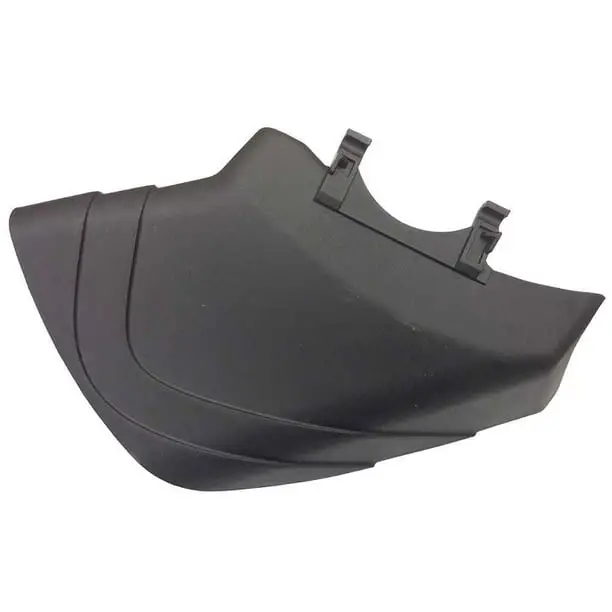
Step 2: Design the Chute
Designing your discharge chute properly is crucial for optimal functionality. Consider the specific requirements of your mower and lawn.
Determine the ideal length, width, and angle of discharge that will suit your mowing needs.
A well-designed chute will ensure effective grass collection and prevent clogging or uneven distribution of clippings.
You can create a detailed plan or blueprint to guide you through the construction process, including measurements and dimensions.
Step 3: Gather Materials and Cutting
Once you have a design in hand, gather all the necessary materials based on your plan. Refer to the material selection section above for guidance.
Ensure that you have enough material to complete the project.
Carefully measure and mark the materials according to the dimensions specified in your design. Use a measuring tape or ruler to ensure accuracy.
Double-check your measurements before proceeding to the cutting stage.
Depending on the materials chosen, use appropriate tools such as a saw or shears to cut the materials to the required size and shape.
Step 4: Assemble the Chute
With the materials cut to the desired dimensions, it’s time to assemble the different components of your discharge chute.
Refer to your design plan to guide you through the assembly process.
Depending on the materials used, you may need to use screws, nuts, bolts, or adhesive to secure the pieces together.
Ensure that the connections are tight and sturdy to withstand the forces exerted during mowing. Follow the recommended attachment points on your mower to securely fasten the chute.
This will ensure stability and proper alignment, allowing for the efficient discharge of grass clippings.
Step 5: Test and Adjustments
Once the chute is assembled and attached to your mower, it’s important to conduct a thorough test to ensure its proper functionality.
Start your mower and observe how the clippings are discharged through the chute. Check for any signs of clogging, uneven discharge, or interference with the mowing operation.
Make any necessary adjustments to the chute’s position, angle, or attachment points to achieve optimal performance.
This may involve loosening or tightening fasteners, repositioning the chute, or modifying its design slightly.
Take the time to fine-tune the chute to ensure it functions efficiently and effectively.
Related: Best Lawn Mower Brands
Take the Functionality of Your Homemade Mower Discharge Chute to the Next Level
There are advanced modifications you can consider if you’re eager to take your DIY discharge chute to the next level.
These options will not only enhance your mowing experience but also contribute to the health and appearance of your lawn.
Let’s explore some of them.
Adjustable Chutes
Traditional discharge chutes have a fixed angle of discharge, but with an adjustable chute, you have the flexibility to control the direction and distance at which the grass clippings are discharged.
This allows you to easily adjust the chute based on the specific mowing conditions or your preferences.
For example, you can direct the clippings away from flower beds, pathways, or sensitive areas of your lawn.
Adjustable chutes provide greater versatility and customization, making it easier to achieve precise grass distribution.
Mulching Capabilities
Incorporating mulching capabilities into your discharge chute design can be a game-changer for lawn health and aesthetics.
Mulching involves finely chopping the grass clippings and dispersing them back onto the lawn instead of collecting and bagging them.
The chopped clippings act as a natural fertilizer, returning valuable nutrients and moisture to the soil.
This process helps to promote a healthier, greener lawn and reduces the need for additional fertilizers.
Consider adding a mulching attachment to your discharge chute that chops the clippings finely before they’re discharged.
This feature can significantly enhance the appearance and overall well-being of your lawn.
Swivel Chutes
A swivel chute allows you to rotate the chute assembly, enabling you to easily change the direction of discharge without adjusting the position of the entire mower.
This is particularly useful when mowing around obstacles or tight corners, as it provides greater maneuverability and control.
Swivel chutes offer convenience and efficiency by minimizing the need for multiple adjustments or repositioning during mowing.
Related
- Best Mower for 7 Acres
- Best Pressure Washers Under $600
- How Does a Pressure Washer Unloader Valve Work? (Answered)
- Top 3 Types of Lawn Mower Engines
- Ryobi Vs Craftsman Pressure Washer
- Ariens Vs Husqvarna Zero Turn Mowers
- Sutech Stealth 33 Review: Don’t Buy Until You Read This
- Best Commercial Lawn Mower Brands
- Qwikchute vs. Grass Flap: Which One is Better?
- How to Easily Build a DIY Discharge Chute Blocker

