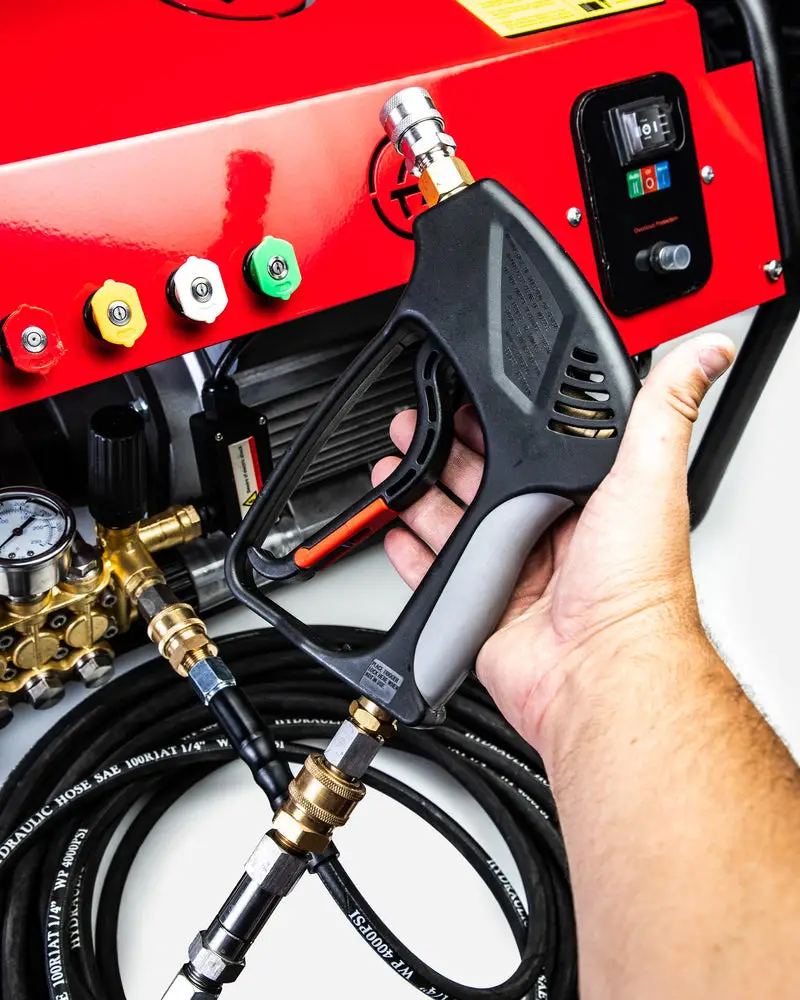
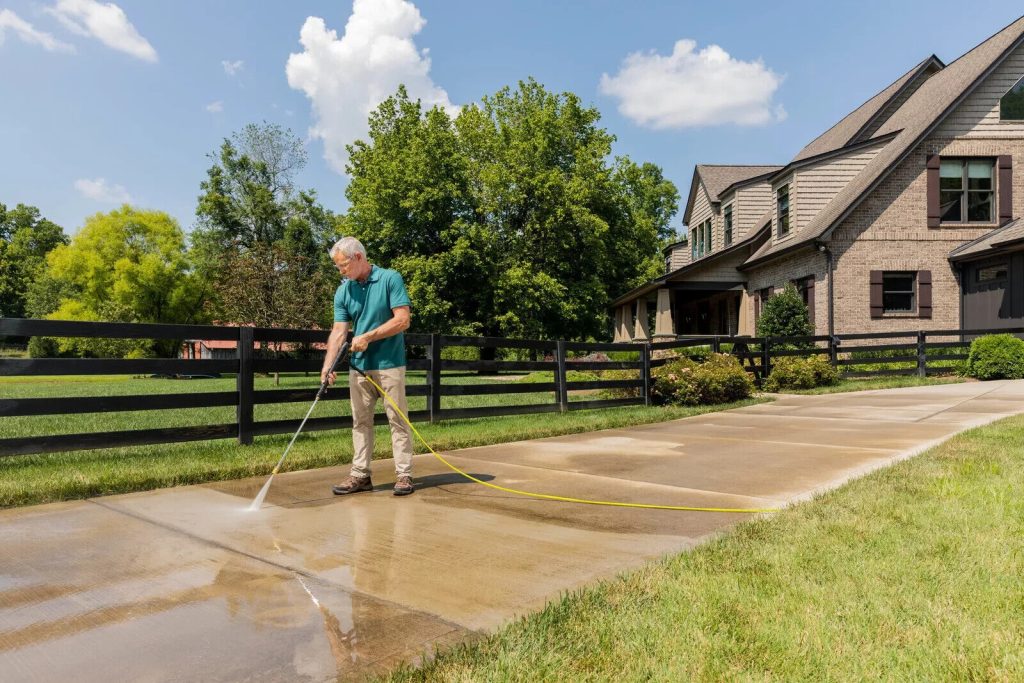
The high-pressure water shooting out of the spray gun of a pressure washer is due to the effects of several key components of the pressure washer, the most important being the pressure washer unloader valve.
Knowing how the unloader valve of your pressure washer operates could help you to make better use of the machine. It could also help you to prevent damage to the pump, gun/spray wand, or hose.
Like every other valve, the pressure washer unloader valve regulates the flow of water in the pressure washer, which creates the high-pressure water you use to blast surfaces clean.
When the trigger on the spray gun is depressed, the unloader valve diverts the water flow through the bypass allowing for adjustments on the pressure of your machine.
Every pressure washer is made up of a two-part value system consisting of the unloader valve and the trigger on the spray gun.
Through this valve system, water is directed into the bypass of the unloader and then back to a header tank or into the water inlet side of the pump.
The unloader valve re-circulates the water back to the inlet side of the pump or back to the header tank when the trigger is shut off.
What is the Importance of a Pressure Unloader Valve?
The main function of the valve is to avoid extreme pressure buildup in the pump so that water redirected from the pump passes through the unloader hose and is recycled through the power pump.
The pressure will continue to build if the unloader valve is not present to redirect high-pressure water in the pump.
If this continues, it will exceed the machine’s PSI (pounds per square inch) limitation and damage the pump and other components.
Several problems could arise from a faulty or misadjusted unloader valve that I’ll talk about later. You must apply the right measures when making adjustments to the valve.
Related: Best Pressure Washers Under $600
How a Pressure Washer Unloader Valve Works
A pressure washer unloader valve diverts the flow of water in the pump into the bypass port. The valve works in a way that relieves pressure from the pressure washer.
You can increase or decrease the water pressure coming out of the nozzle through the unloader valve.
To do this, you need to know how the unloader valve works in the first place.
There are two types of pressure washer unloader valves; each has its operating system and adjustment system.
The trapped pressure unloader and the flow-actuated unloader function more like opposites with an increase in one reflecting a decrease in the other.
A trapped pressure unloader valve reacts to changes in pressure. When the trigger on the spray gun is released, there will be an increase in pressure.
This will cause the unloader valve to open sending the water back to the inlet side of the pump.
A flow-actuated unloader also reacts to pressure. When the flow of water is stopped, there will be a buildup of internal pressure.
This happens when the trigger of the gun is depressed. The water will be diverted through the bypass and back to the inlet side of the pump.
Related: Generac Vs Simpson Pressure Washer
How to Adjust a Pressure Washer Unloader Valve
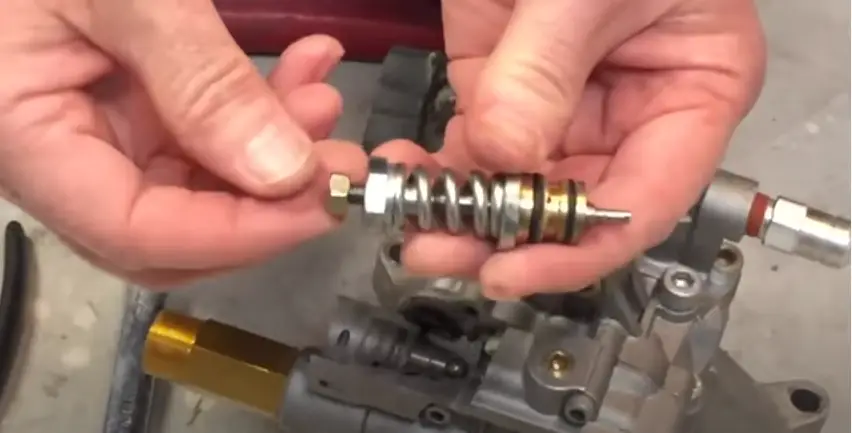
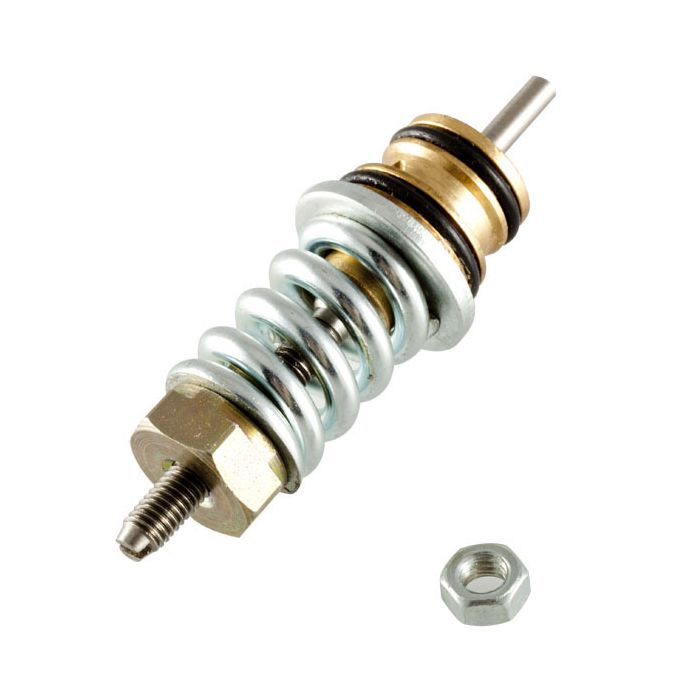
Unloader valves come as a spring that can be adjusted to control how much pressure it will allow to build up in the pump before redirecting water. You can increase or decrease this pressure by adjusting the spring.
Since the two types of unloader valves have different working systems, they also have different ways in which the spring can be adjusted to bring about pressure changes.
Before getting started, note that adjustments should only be made in small increments or decrements to prevent pressure from building too high or going too low.
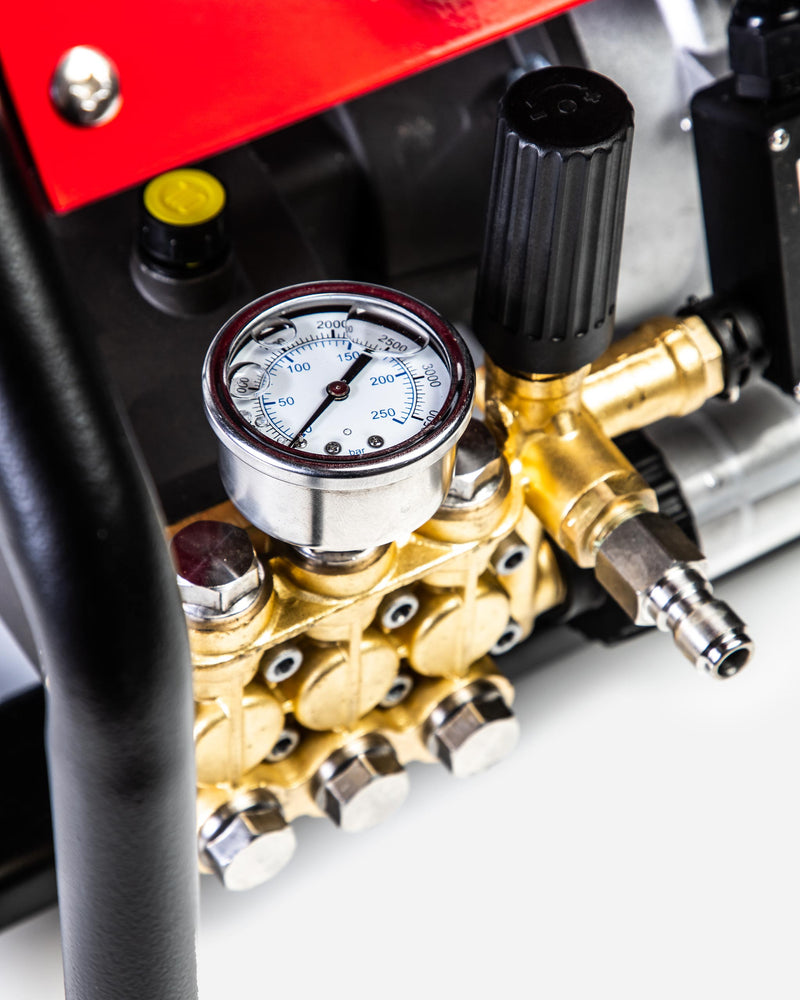
While adjusting, attach a pressure gauge to the pump before the unloader to help monitor pressure changes. Also, keep the machine running and the trigger wand pulled while you make adjustments
Note that improper adjustment or handling could cause damage to the unloader valve and other related components.
How to Adjust a Trapped Pressure Washer Unloader Valve
To adjust a trapped unloader valve, press the trigger and loosen the screw from the body of the valve to ease the tension in the spring.
Release the trigger to check if the unloader is working. Press it again to allow the system to build its operating pressure at that adjustment.
If you’re not okay with it, you can tighten the bolt while the trigger is pressed.
This process should be repeated until the desired pressure is achieved. Always check the pressure gauge with each adjustment.
How to Adjust a Flow-Actuated Pressure Washer Unloader Valve
Adjusting a flow-actuated unloader valve works similarly.
Tightening the adjusting nut will increase the bypass pressure while loosening it will decrease the bypass pressure.
While making adjustments, ensure that the spike pressure is no more than 200 PSI above the operating pressure or this could damage the machine.
Related: Yamaha Vs Subaru Pressure Washer Review
Overheating the Bypass
The bypass in the pressure washer can become overheated when water cycles for too long. The excess heat is due to the friction in the crankcase as the water is continuously cycled through it.
This heat is transferred to the water, thus raising the temperature of the water. If the water gets too hot, it could damage the pump.
To prevent this from happening, occasionally discharge water by squeezing the trigger of the spray so that the pump gets a fresh and cooler supply of water.
Related: Generac Vs Simpson Pressure Washer (Comparison)
Causes of Pressure Problems in a Pressure Washer
The following are some of the major causes of pressure washer problems.
Worn-out Trigger Wand
While the unloader valve handles everything related to pressure change, it might not be the only culprit if you’re experiencing a gradual pressure loss in your pressure washer.
This could sometimes be a result of a worn-out trigger wand.
Replacing the trigger wand would solve this problem in such a case.
Wrong Parts
If you’ve changed the unloader valve of your pressure washer recently, check to make sure you bought the right one for the machine. Consider buying directly from manufacturers when buying parts for your machine.
Incorrectly Adjusted Loader
Tightening or loosening the spring of the unloader valve will set the pressure at which the unloader will divert water away from the pump.
This process might sound simple, but it could be tough for someone with zero knowledge about the operating system of pressure washers.
Incorrectly adjusting the unloader, especially without a pressure gauge and above 200 PSI than the normal operating pressure will lead to pressure problems and sometimes damage to the pump or unloader.
Unloader Needs to Be Replaced
Sometimes a faulty unloader could lead to a gradual loss of pressure in a pressure washer.
You may need to fix or replace the unloader if you’ve checked other parts of the machine and adjusted the unloader but still notice no change.
Related: Types of Pressure Washer Unloader Valves
5 Pressure Washer Unloader Valve Types
- By Design and Configuration
1. Bypass Unloader Valve
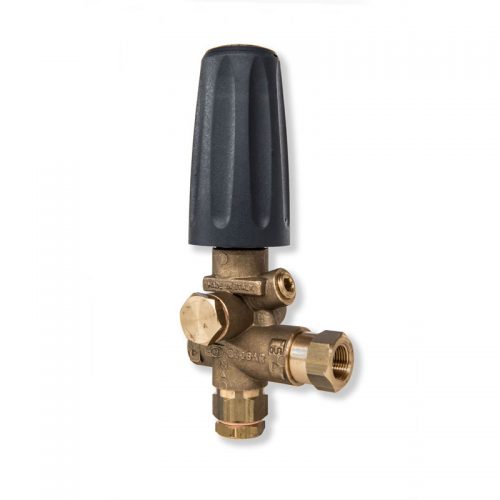
This is the most common type found in pressure washers. It features a ball and seat mechanism that controls the flow of water.
When the pressure exceeds the set limit, the ball lifts off the seat, redirecting the water flow.
Bypass unloader valves are reliable and widely used, offering efficient pressure regulation.
They, however, may require periodic maintenance to prevent issues such as debris accumulation or wear.
2. Flow-Actuated Unloader Valve
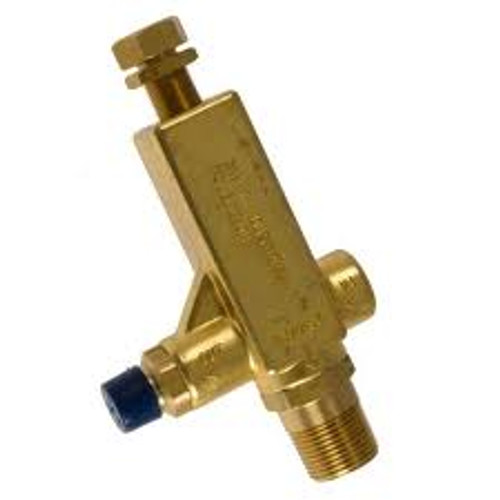
The valves operate based on water flow instead of direct pressure sensing.
They utilize a piston or diaphragm mechanism that responds to changes in water flow rate.
As the flow increases, the piston or diaphragm engages, diverting water to bypass the pump or adjusting the valve opening, thus maintaining a consistent pressure output.
- By Adjustability and Pressure Range
3. Adjustable Unloader Valve
If you require flexibility in controlling the pressure output of your pressure washer, an adjustable unloader valve is an ideal choice.
These valves allow users to adjust the pressure setting to meet the specific requirements of different cleaning tasks.
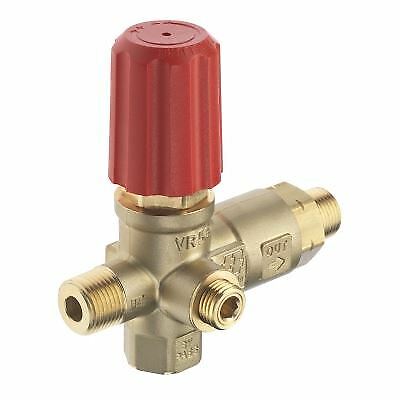
By fine-tuning the pressure, you can achieve optimal cleaning results on various surfaces without risking damage.
4. Fixed-Pressure Unloader Valve
These are pre-set to a specific pressure level and don’t offer adjustability.
They’re commonly found in commercial or industrial pressure washers where consistent pressure is required for specific applications.
Fixed-pressure valves provide reliability and simplicity, eliminating the need for constant adjustments.
However, they may not be suitable for users who require versatility in pressure output.
5. Variable-Pressure Unloader Valve
For those seeking the best of both worlds, variable-pressure unloader valves offer a versatile solution.
These valves allow for adjusting the pressure output within a predetermined range.
By changing the valve’s settings, you can adapt the pressure to different cleaning tasks, striking a balance between flexibility and consistency.
Variable-pressure unloader valves are popular among professional users who tackle diverse cleaning applications.
Pressure Washer Unloader Valve Adjustment without Gauge: Simple Steps to Follow
Adjusting the unloader valve without a gauge can be a bit more challenging since you don’t have a precise measurement of the pressure.

However, it’s still possible to achieve satisfactory results by following the steps below.
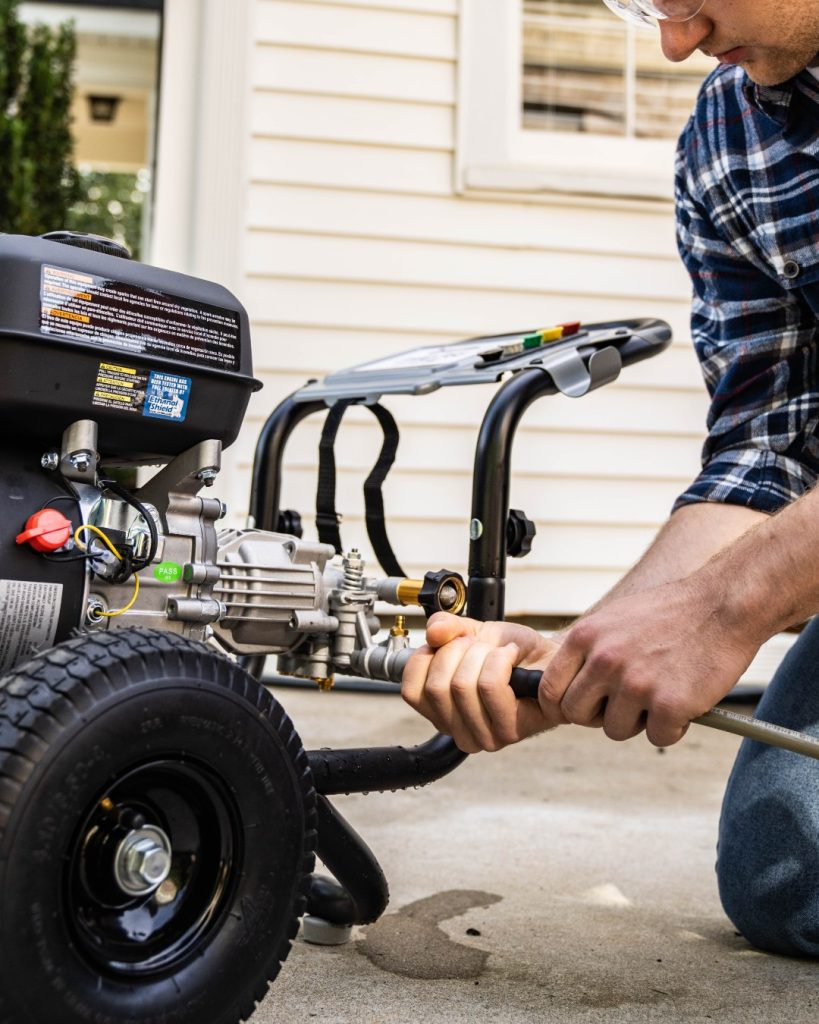
Identify the Unloader Valve Location
Start by locating the unloader valve on your pressure washer.
It’s typically connected to the pressure pump or the outlet of the pump.
It may be located near the pressure hose connection or integrated into the pressure washer wand handle.
Turn the Adjustment Knob
Once you’ve located the unloader valve, look for an adjustment knob or screw.
The purpose of this knob is to control the pressure by adjusting the tension or position of the valve spring.
Turning the knob clockwise usually increases the pressure, while turning it counterclockwise decreases the pressure. To begin the adjustment, turn the knob slightly in either direction.
Since you don’t have a gauge to rely on, it’s best to make small adjustments and observe the impact on the pressure.
Be cautious not to make drastic changes at once, as it can lead to potential damage or inefficient performance.
Test and Fine-Tuned the Pressure
After making the initial adjustment, it’s time to test the pressure and observe the results.
Start the pressure washer and engage the trigger on the wand to let the water flow.
Pay attention to the pressure output and assess if it meets your desired level.
If the pressure is too low, you can gradually tighten the adjustment knob in small increments, repeating the testing process after each adjustment.
Conversely, if the pressure is too high or the pressure washer is struggling, turn the knob slightly in the opposite direction to decrease the pressure.
Continue this iterative process of making adjustments and testing the pressure until you achieve a satisfactory level.
It may require some patience and trial and error, but with careful observation and small incremental changes, you can fine-tune the pressure to suit your needs.
Remember, without a gauge, the adjustments are based on your subjective evaluation of the pressure output.
I recommend that you consider the task at hand and any manufacturer guidelines regarding pressure settings for your specific pressure washer model.
Related: Is 2000 PSI Good for a Pressure Washer?
How to Adjust Pressure on Pressure Washer Pump
Adjusting the pressure on a pressure washer pump is an important task that allows you to optimize the cleaning power for different applications.
Here’s a detailed step-by-step guide to help you navigate this delicate process.
Locate the Pressure Adjustment Knob
Start by locating the pressure adjustment knob on your pressure washer pump.
The location of the knob may vary depending on the make and model of your pressure washer. It’s usually found near the pump or on the control panel.
Turn the Knob Clockwise or Counterclockwise
Turning the knob clockwise generally increases the pressure, while turning it counterclockwise decreases the pressure.
When making adjustments, turn the knob in small increments rather than making large changes all at once.
This approach allows for more controlled adjustments and reduces the risk of causing damage to the pump or other components.
Test the Pressure and Make Further Adjustments if Necessary
Test the pressure output after each adjustment to evaluate the impact of the changes you’ve made.
Start the pressure washer and engage the trigger on the spray gun or wand to allow water to flow.
Observe the pressure gauge if your pressure washer has one, or assess the cleaning performance and water flow to determine if the pressure is at the desired level.
If the pressure is too low for your intended cleaning task, you can gradually increase it by turning the knob clockwise in small increments.
And if the pressure is too high or you notice any signs of strain on the pump or other components, you should turn the knob counterclockwise to decrease the pressure.
Continue this process of testing the pressure, making adjustments, and retesting until you achieve the desired pressure level. It may require several iterations to fine-tune the pressure to suit your specific needs and the requirements of the cleaning task.
Throughout the adjustment process, exercise caution and refer to the manufacturer’s guidelines for the recommended pressure range for your pressure washer model.
Operating the pressure washer outside of the recommended pressure limits can lead to reduced performance, damage to the equipment, and potential safety hazards.
Related: How to Quickly the Change Oil in Your Pressure Washer Pump
Pressure Washer Spring Adjustment
The spring in the unloader valve of a pressure washer is responsible for controlling the pressure and ensuring that it remains within the desired range.
Adjusting the tension of the spring allows you to fine-tune the pressure output. Below is the detailed expansion of the steps involved in spring adjustment.
Identify the Spring Adjustment Mechanism
To begin with, locate the spring adjustment mechanism on your pressure washer’s unloader valve.
This mechanism can vary depending on the make and model of your pressure washer. It may involve an adjustment screw, knob, or a designated area for manual adjustment.
Refer to the user manual or manufacturer’s instructions for specific guidance on locating the spring adjustment mechanism.
If necessary, you can also consult exploded parts diagrams or online resources for your particular pressure washer model.
Adjust the Tension of the Spring
The goal is to increase or decrease the tension to achieve the desired pressure output.
Generally, tightening the spring increases the pressure, while loosening it decreases the pressure.
Using an appropriate tool, such as a screwdriver or wrench, adjust the spring tension as per the manufacturer’s instructions.
Turn the adjustment screw or knob clockwise to increase tension, or counterclockwise to decrease tension. Make small adjustments at a time to ensure controlled changes.
Keep in mind that the spring adjustment mechanism may vary in terms of the number of rotations or turns required to achieve the desired tension.
Refer to the manufacturer’s instructions for specific guidance on the recommended adjustments for your pressure washer model.
Test the Pressure
Start the pressure washer and engage the trigger on the spray gun or wand to allow water to flow.
Observe the pressure gauge or assess the cleaning performance and water flow. Determine if the pressure is within the desired range for your intended cleaning tasks.
Continuously test the pressure, make adjustments, and retest until you achieve the desired pressure output. Remember to make small incremental changes to ensure precise fine-tuning.
Related: Can You Adjust PSI on Ryobi Pressure Washer?
How to Set Unloader Valve on Pressure Washer
Setting the unloader valve on a pressure washer is an important step to ensure that it’s properly aligned and positioned within the system for optimal performance.
Here’s an expanded guide on how to set the unloader valve.
Locate the Unloader Valve
The unloader valve is typically located near the pressure washer pump, often on the side or at the rear of the machine.
It’s usually identifiable by its adjustment knob or handle, which allows you to change the pressure setting.
Prepare for Adjustment
Before making any adjustments, ensure that the pressure washer is turned off and disconnected from the power source.
Also, release the trigger on the pressure washer gun to relieve any pressure that might be present in the system.
Determine the Desired Pressure
Consider the task at hand and determine the appropriate pressure setting for your cleaning needs.
This will depend on factors such as the surface being cleaned, the type of dirt or grime, and any manufacturer recommendations.
Refer to the pressure washer’s manual if you’re unsure about the ideal pressure for your specific application.
Adjust the Unloader Valve
Using the adjustment knob or handle, turn the unloader valve clockwise or counterclockwise to increase or decrease the pressure, respectively.
Start by making small adjustments and then testing the pressure washer to evaluate the impact of the changes.
You may need to repeat this process a few times to achieve the desired pressure level.
Test the Pressure Washer
Once you’ve made the adjustments, reconnect the pressure washer to the power source and turn it on. Point the pressure washer gun in a safe direction and squeeze the trigger to engage the water flow.
Observe the pressure and ensure it matches your intended setting. If the pressure is too high or too low, repeat the step above until you achieve the desired result.
Fine-Tune if Necessary
If you find that the pressure is not consistent or the unloader valve needs further adjustment, repeat the process, making gradual changes until the pressure is properly regulated.
Related: Ryobi Vs Craftsman Pressure Washer (Comparison)
Craftsman Pressure Washer Unloader Valve Adjustment: How to Adjust Unloader Valve on Craftsman Pressure Washer
Craftsman pressure washers have their specific guidelines for adjusting the unloader valve.
Here’s the procedure.
Identify the Unloader Valve
Begin by locating the unloader valve on your Craftsman pressure washer.
It’s usually situated near the pressure pump or integrated into the pressure washer wand handle.
Adjusting the Unloader Valve
Craftsman provides specific instructions for adjusting the unloader valve on their pressure washers. Follow these guidelines carefully to achieve the desired pressure output.
Here are some general steps.
- Ensure the pressure washer is turned off and the trigger on the spray gun or wand is released
- Identify the adjustment mechanism on the unloader valve. It may involve an adjustment screw, knob, or a designated area for manual adjustment
- Use the appropriate tool, such as a screwdriver or wrench, to make the necessary adjustments. This may involve turning the adjustment screw or knob clockwise or counterclockwise to increase or decrease the pressure
- Make small changes at a time and test the pressure output before making further adjustments
Test the Pressure and Fine-Tune the Adjustment
Start the Craftsman pressure washer and engage the trigger on the spray gun or wand to allow water to flow.
Observe the pressure gauge or evaluate the cleaning performance and water flow to determine if the pressure meets your desired level. If necessary, make further adjustments to fine-tune the pressure output.
Continuously test the pressure, make adjustments as needed, and retest until you achieve the optimal pressure for your specific cleaning tasks.
Follow the manufacturer’s recommended pressure range to ensure safe and efficient operation.
Related: Craftsman Pressure Washers vs Simpson Pressure Washer Review
Ryobi Pressure Washer Unloader Valve Adjustment: How to Adjust the Unloader Valve on a Ryobi Pressure Washer
By adjusting the unloader valve, you can control the pressure and prevent any potential damage to the machine or the surfaces you’re cleaning.
Locating the unloader valve
The unloader valve is a key component of the pressure washer that regulates the flow and pressure of water.
It’s usually located near the pressure pump or the pressure hose connection. Look for a small brass or steel valve with an adjusting knob or screw.
Refer to the user manual or consult the manufacturer’s instructions to identify the precise location of the unloader valve if you can’t find it.
Adjust the unloader valve
Typically, adjusting the unloader valve involves turning the adjusting knob or screw clockwise or counterclockwise to increase or decrease the pressure, respectively.
Test the pressure and make necessary adjustments
Connect the pressure washer to a water source and turn it on.
Engage the spray gun trigger and observe the pressure gauge or monitor the pressure level indicated on the pressure washer display if applicable.
You may need to make further adjustments to the unloader valve if the pressure is too high or too low.
To increase or decrease the pressure, turn the adjusting knob or screw in the appropriate direction.
Make small adjustments and retest the pressure after each adjustment until you achieve the desired pressure level.
Optimizing the pressure ensures efficient cleaning performance while minimizing the risk of damaging delicate surfaces.
Related: Ryobi Vs Simpson Pressure Washer Review
Kärcher Unloader Valve Adjustment
Here are the 3 steps to follow to adjust your Karcher unloader valve.
Identify the unloader valve
The unloader valve on a Kärcher pressure washer is typically located near the outlet connection, where the high-pressure hose is attached.
It’s designed to divert the water flow when the trigger gun is released, relieving pressure within the system.
Identify the specific location before proceeding with any adjustment.
Adjust the unloader valve
Generally, the adjustment involves accessing the unloader valve and making changes to its tension or position.
This adjustment can be done by turning a knob, screw, or similar mechanism.
The objective is to find the right balance that allows the pressure washer to operate at the desired pressure without excessive strain on the system.
Test the pressure and fine-tune the adjustment
Test the pressure output of the pressure washer after making the initial adjustment to the unloader valve.
Connect the necessary attachments, such as the high-pressure hose and spray gun, and start the unit.
Use a pressure gauge or other pressure measuring device compatible with your Kärcher pressure washer to check the pressure at the nozzle. Compare the measured pressure with the recommended pressure range specified in the user manual.
If the pressure is within the desired range, the adjustment is likely successful. However, if the pressure is too high or too low, further fine-tuning is necessary.
Related: Karcher Vs Greenworks Pressure Washers
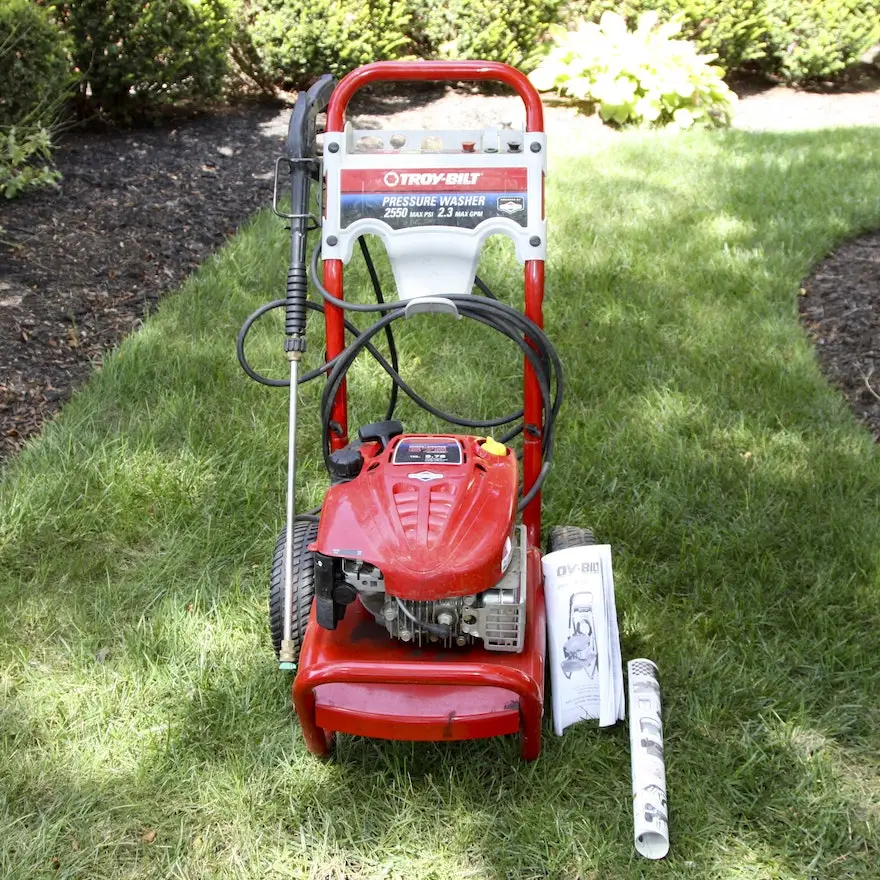
Troy Bilt Pressure Washer Unloader Valve Adjustment
Troy-Bilt pressure washers are widely used for various cleaning tasks, and it’s important to ensure that the unloader valve is properly adjusted to maintain optimal performance.
Follow these steps to adjust the unloader valve.
Locate the unloader valve
It’s often located near the pump of the pressure washer. It may be labeled or identified as a small valve or knob.
Adjust the unloader valve
Adjusting the unloader valve involves turning a knob or a screw to increase or decrease the pressure.
Some models may require the use of a wrench or a specialized tool for adjustment.
The manufacturer’s instructions will guide you on the specific steps and tools required for the adjustment.
Test the pressure and make necessary adjustments
Connect the pressure washer to a water source and turn it on.
Use a pressure gauge, if available, to measure the pressure at the nozzle. If the pressure is too high or too low, you may need to adjust it further.
Make small adjustments to the unloader valve according to the manufacturer’s instructions until you achieve the desired pressure.
Make incremental changes and test the pressure after each adjustment to avoid overloading or underperforming the pressure washer.
Once the pressure is at the desired level, you can begin using the pressure washer for your cleaning tasks, confident in its optimal performance.
Related: Ryobi Vs Generac Pressure Washer Review
Honda Pressure Washer Unloader Valve Adjustment: How to Adjust Pressure on Honda Pressure Washer
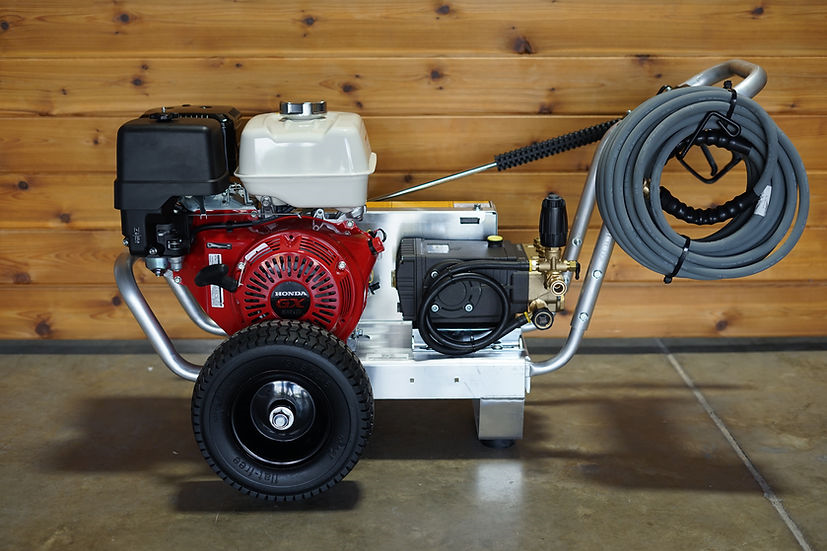
Honda pressure washers are known for their powerful performance and reliability.
Below are the procedures for adjusting the unloader valve.
Identify the unloader valve
The unloader valve is usually located near the water inlet or on the pump itself.
It’s a small valve that controls the flow of water and relieves pressure when the trigger of the pressure washer gun is released.
Adjust the unloader valve
The adjustment process generally involves turning a knob or screw on the unloader valve to increase or decrease the pressure.
Turn the adjustment knob clockwise to increase pressure or counterclockwise to decrease pressure. Make gradual adjustments and test the pressure after each adjustment.
Test the pressure and fine-tune the adjustment
Plug the pressure washer into a water source and turn it on.
Squeeze the trigger on the pressure washer gun to activate the spray. Observe the pressure and assess if it meets your desired level.
Make further adjustments to the unloader valve if the pressure is too high or too low.
Repeat the process of gradually turning the adjustment knob and testing the pressure until you achieve the desired pressure output.
Make small increments and test after each adjustment to avoid causing damage to the pressure washer or compromising its performance.
Once you’ve fine-tuned the adjustment and achieved the optimal pressure, you can start using the pressure washer for your cleaning tasks with confidence.
Regularly check the pressure and ensure that the unloader valve is functioning properly to maintain the performance of the pressure washer.
Related: Karcher Vs Ryobi Pressure Washers: Which One is Better?
Greenworks Pressure Washer Unloader Valve
Adjusting the unloader valve on a Greenworks pressure washer is an important maintenance task that extends the lifespan of the equipment.
Here’s a detailed explanation of the steps involved in the adjustment.

Locate the unloader valve
The unloader valve is mostly located near the water inlet on the pressure washer.
It may be connected to the pump or positioned separately.
Adjust the unloader valve
The adjustment process involves using a screw or knob on the unloader valve to regulate the pressure setting.
To make adjustments, you might need to turn the screw clockwise or counterclockwise to increase or decrease the pressure respectively.
The precise method will depend on the design of the unloader valve on your particular Greenworks pressure washer.
Test the pressure and make necessary adjustments
Start the pressure washer and engage the trigger on the wand. Observe the pressure gauge or the performance of the equipment to assess the output.
If the pressure is too high or too low, additional adjustments to the unloader valve might be necessary.
Repeat the step above to fine-tune the pressure until it reaches the desired level.
You must make small adjustments and test the pressure frequently to avoid overloading the system or causing damage to the pressure washer.
Optimal performance is achieved when the pressure washer delivers sufficient force for the intended cleaning tasks without straining the components or causing unnecessary wear.
Related: Greenworks vs Karcher Pressure Washer Review
How to Adjust Pressure on Simpson Pressure Washer
Here’s the procedure.
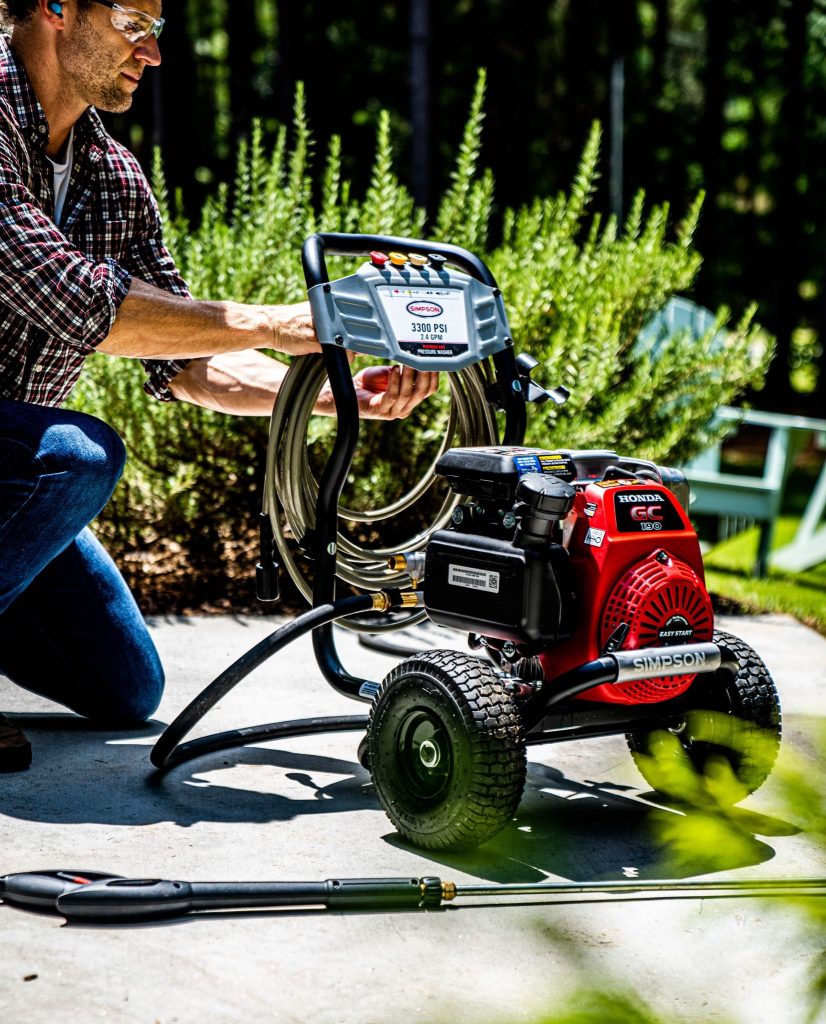
Locate the pressure adjustment mechanism on the pressure washer
The exact location may vary depending on the model, but it’s typically located near the pump or on the control panel.
Adjust the pressure
The pressure adjustment mechanism will allow you to increase or decrease the pressure output.
Turning the knob, dial, or screw clockwise typically increases the pressure, while turning it counterclockwise decreases the pressure.
Test the pressure and make necessary adjustments
Attach the pressure washer to a water source and turn it on. Engage the trigger gun or wand to activate the water flow.
Using a pressure gauge or observing the performance of the pressure washer, assess if the pressure is at the desired level.
If the pressure is too high or too low, make further adjustments to the pressure adjustment mechanism.
Keep in mind that different cleaning tasks may require varying levels of pressure. Adjust the pressure accordingly to suit the specific cleaning job at hand.
For example, higher pressure may be needed for tough stains or concrete surfaces, while lower pressure is suitable for delicate surfaces like wood or cars.
Check Out Similar Posts
- Best Pressure Washers Under $600
- Best Mower for 7 Acres
- Best Commercial Lawn Mower Brands
- Top 5 Types of Pressure Washer Unloader Valves

