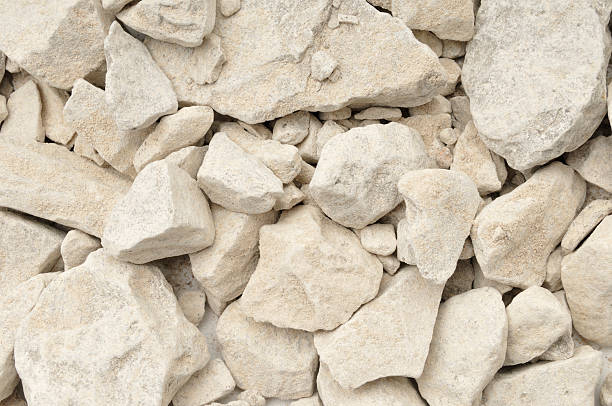
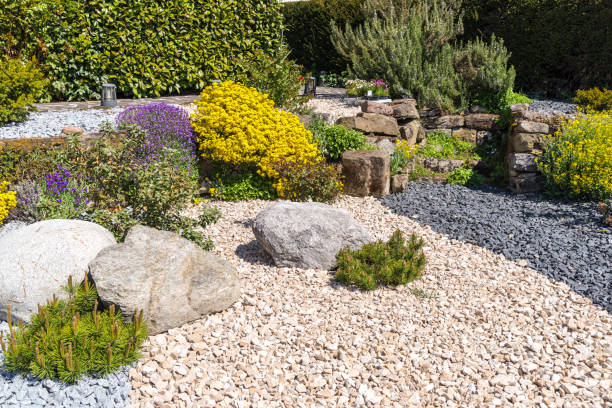
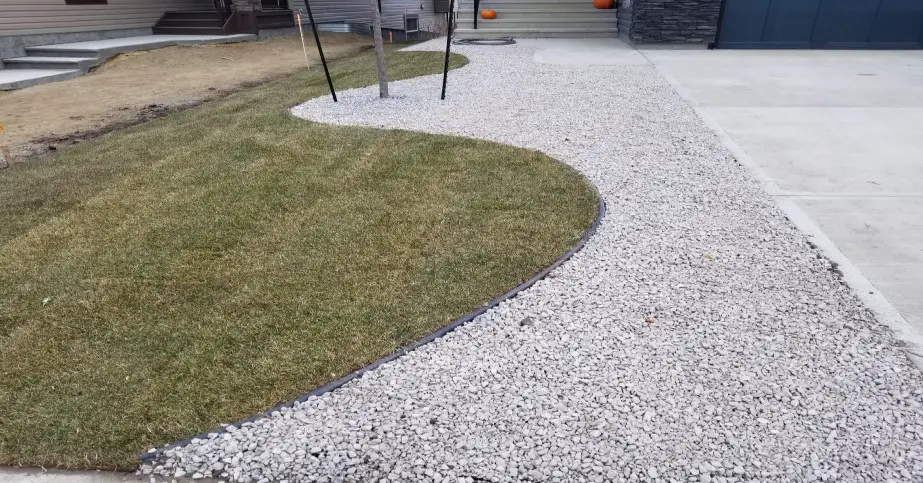
Limestone, a sedimentary rock composed primarily of calcium carbonate, is a popular choice for landscaping due to its natural beauty and durability.
These rocks come in various shapes, sizes, and colors, making them versatile for creating stunning outdoor landscapes.
Over time, limestone landscape rocks can accumulate dirt, debris, and stains, which can detract from their aesthetic appeal.
Regular cleaning not only restores their natural beauty but also helps prevent long-term damage caused by neglect.
By investing time and effort into cleaning your limestone rocks, you can maintain a visually appealing outdoor space that brings joy to both you and your guests.
Step-by-Step Process of Cleaning Your Dirty Limestone Landscape Rocks
Step 1: Clearing the Area and Removing Loose Debris
It’s important to create a clean and organized workspace before you begin cleaning your limestone landscape rocks.
Clear any surrounding vegetation, such as grass or weeds, to provide easy access to the rocks.
Use a brush, broom, or leaf blower to remove loose debris, such as leaves, twigs, or dirt, from the surface of the rocks.
This step ensures that the cleaning process can be carried out effectively and prevents debris from interfering with the cleaning solution.
Related: How to Clean Lava Rock Landscaping
Step 2: Inspecting for any Damage or Repairs Needed
Take the time to carefully examine each limestone rock for any visible signs of damage, such as cracks, chips, or loose sections.

Addressing these issues before cleaning is crucial as it helps maintain the integrity and longevity of your limestone landscape.
If you notice any damage, consider consulting a professional or following appropriate repair techniques to restore the rocks.
Step 3: Choosing the Appropriate Cleaning Method
When it comes to cleaning limestone landscape rocks, there are various methods available.
Determine the most suitable cleaning method based on the level of dirt, stains, and the condition of the rocks.
You have two main options: chemical cleaners or natural alternatives.
Chemical cleaners can provide effective results but may contain strong substances that require careful handling.
On the other hand, natural alternatives are often gentler on the limestone and more environmentally friendly.
Weigh the pros and cons of each approach and choose the method that aligns with your preferences and the specific needs of your limestone rocks.
Step 4: Testing the Chosen Cleaning Method
Conduct a patch test before applying the cleaning solution to the entire surface of the limestone rocks.
Select a small, inconspicuous area of the rock and apply a small amount of the cleaning solution.
Observe the area for any adverse reactions such as discoloration or etching.
If the test results are satisfactory, you can proceed with confidence knowing that the cleaning solution is safe for the entire surface.
Related: How to Clean Algae off Landscape Rocks
Step 5: Applying the Cleaning Solution to the Rocks
Following the instructions provided by the manufacturer of the cleaning solution, apply the solution evenly to the limestone rocks.
Use a sprayer, sponge, or brush to ensure thorough coverage of all stained or dirty areas.
Take care to avoid oversaturation, especially if using chemical cleaners, as excessive moisture can potentially cause damage to the limestone.
Step 6: Scrubbing and Removing Stubborn Stains
Stubborn stains may require some extra effort to remove.
Using a soft-bristle brush or sponge, gently scrub the rocks, paying special attention to areas with visible stains.
Apply moderate pressure while scrubbing and avoid using abrasive tools or harsh scrubbing motions that could scratch or damage the limestone surface.
Be patient and persistent, allowing the cleaning solution to work its magic on the stains.
Step 7: Rinsing Off the Cleaning Solution Thoroughly
Once you’ve successfully scrubbed away the dirt and stains, rinse the limestone rocks thoroughly with clean water.

Use a garden hose or a bucket of water to rinse off the cleaning solution from the surface of the rocks.
Ensure that no traces of the cleaning solution remain, as they could leave behind residue or cause discoloration over time.
Thorough rinsing is vital to preserving the natural beauty of the limestone.
Step 8: Drying and Inspecting the Cleaned Rocks
After rinsing, allow the rocks to air dry naturally in the sunlight or use a soft cloth to gently pat them dry.
Avoid using heat sources or direct sunlight to speed up the drying process, as rapid drying can lead to uneven drying patterns or potential damage.
Once the rocks are dry, carefully inspect each one to ensure they’re clean and free of any remaining stains.
Take note of any areas that may require further attention or touch-ups.
Related: Board on Board Fence Pros and Cons
Preparing for Limestone Landscape Rocks Cleaning: Checklist for an Efficient Process
Before you start cleaning your limestone landscape rocks, it’s important to prioritize safety and gather the necessary tools and materials.
This preparation ensures that you have a smooth and efficient cleaning experience while protecting yourself and the surrounding environment.
You’ll be well-prepared to tackle the cleaning process with the necessary precautions in place.
Here’s a comprehensive checklist to guide you.

Protective Gear
- Safety goggles: Shield your eyes from any debris or splashes during the cleaning process.
- Rubber gloves: Protect your hands from direct contact with cleaning solutions, which may contain harsh chemicals.
- Face mask: If using chemical cleaners or in a poorly ventilated area, wearing a face mask can prevent inhalation of fumes or dust particles.
Cleaning Solutions
- Commercial limestone cleaner: Choose a cleaner specifically formulated for limestone surfaces. Read the instructions carefully to ensure compatibility with your rocks.
- Natural alternatives: If you prefer eco-friendly options, consider using natural cleaning solutions such as a mixture of water and vinegar or a paste made from baking soda and water.
Tools
- Soft-bristle brush or sponge: Use a brush with soft bristles or a sponge to gently scrub the rocks and remove dirt and stains.
- Bucket or sprayer: A bucket filled with clean water or a sprayer will come in handy for rinsing off the cleaning solution.
- Garden hose: If you have access to an outdoor water source, a garden hose with a spray nozzle attachment can facilitate rinsing.
Protective Coverings
- Plastic sheet or tarp: Lay down a plastic sheet or tarp to protect the surrounding areas, such as plants, walkways, or furniture, from potential splashes or overspray during the cleaning process.
- Drop cloth: If you’re cleaning indoor limestone rocks, use a drop cloth to protect the flooring or furniture from any cleaning solution drips.
Ladder or Step Stool
Depending on the size and location of your limestone rocks, you may need a ladder or step stool to reach higher areas safely. Ensure the ladder or stool is stable and secure before use.
Patch Test Area
Select a small, inconspicuous area of the limestone rocks to conduct a patch test. This allows you to evaluate the effects of the cleaning solution without risking damage to the entire surface.
Common Mistakes to Avoid when Cleaning Limestone Landscape Rocks
Steer clear of these common pitfalls.
Using Harsh or Abrasive Cleaners
Harsh chemicals and abrasive cleaners can damage the limestone surface, causing etching or discoloration.
Always opt for gentle cleaning solutions and tools specifically designed for limestone.
Neglecting to Test the Cleaning Solution
Skipping the patch test can lead to unpleasant surprises.
Avoid the risk of damaging your limestone rocks by testing the cleaning solution on a small, inconspicuous area before proceeding.
Related
- Shadow Box Fence Pros and Cons
- Shadow Box Fence Vs Board on Board Fence (Side by Side Comparison)
- Best Paslode Framing Nailers Review
- Top 5 Freeman Framing Nailers Review
- Best Numax Finish & Framing Nailers Review
- 8 Best Metabo Framing Nailers Review
- Monument Grills Vs Weber Grills Review
- Advantages and Disadvantages of Dog Eared Fence
- How to Clean Lava Rock Landscaping: Simple Steps to Try
- 5 Best Ways to Move River Rock by Hand (Simple Tips)


